


Prerequisites
To properly understand the content of this tutorial, you must first understand Node.js, a Node Package Manager (NPM), and a Command Line Interface (CLI). The following are the prerequisites:
Node.js: Understanding Node.js is essential. Node.js is a runtime environment that enables JavaScript code to be executed outside a web browser, making it perfect for server-side applications.
Node Package Manager (NPM): Understanding NPM is vital because it is the default package manager for Node.js. NPM allows you to discover, install, and manage Node.js dependencies (external libraries and modules).
Command Line Interface (CLI): NVM functions mostly through the command line interface. Working with NVM effectively will require familiarity with fundamental command line activities such as navigating directories and executing commands.
Introduction
I had a previous issue at work when I needed to update an Angular 7.1.1 application, however, my Node.js version 14 was incompatible. Downgrading Node.js was not an option because other applications rely on the most recent version. Fortunately, I discovered NVM, which allowed me to install and switch between several Node.js versions based on the project's requirements. Using NVM, I was able to overcome compatibility issues and easily maintain different Node.js versions.
Acronyms
NVM: Node Version Manager.
NPM: Node Package Manager.
CLI: Command Line Interface.
OS: Operating System.
Installation on Windows
There are several methods for installing NVM, but I'm going to suggest the one that worked well for me.
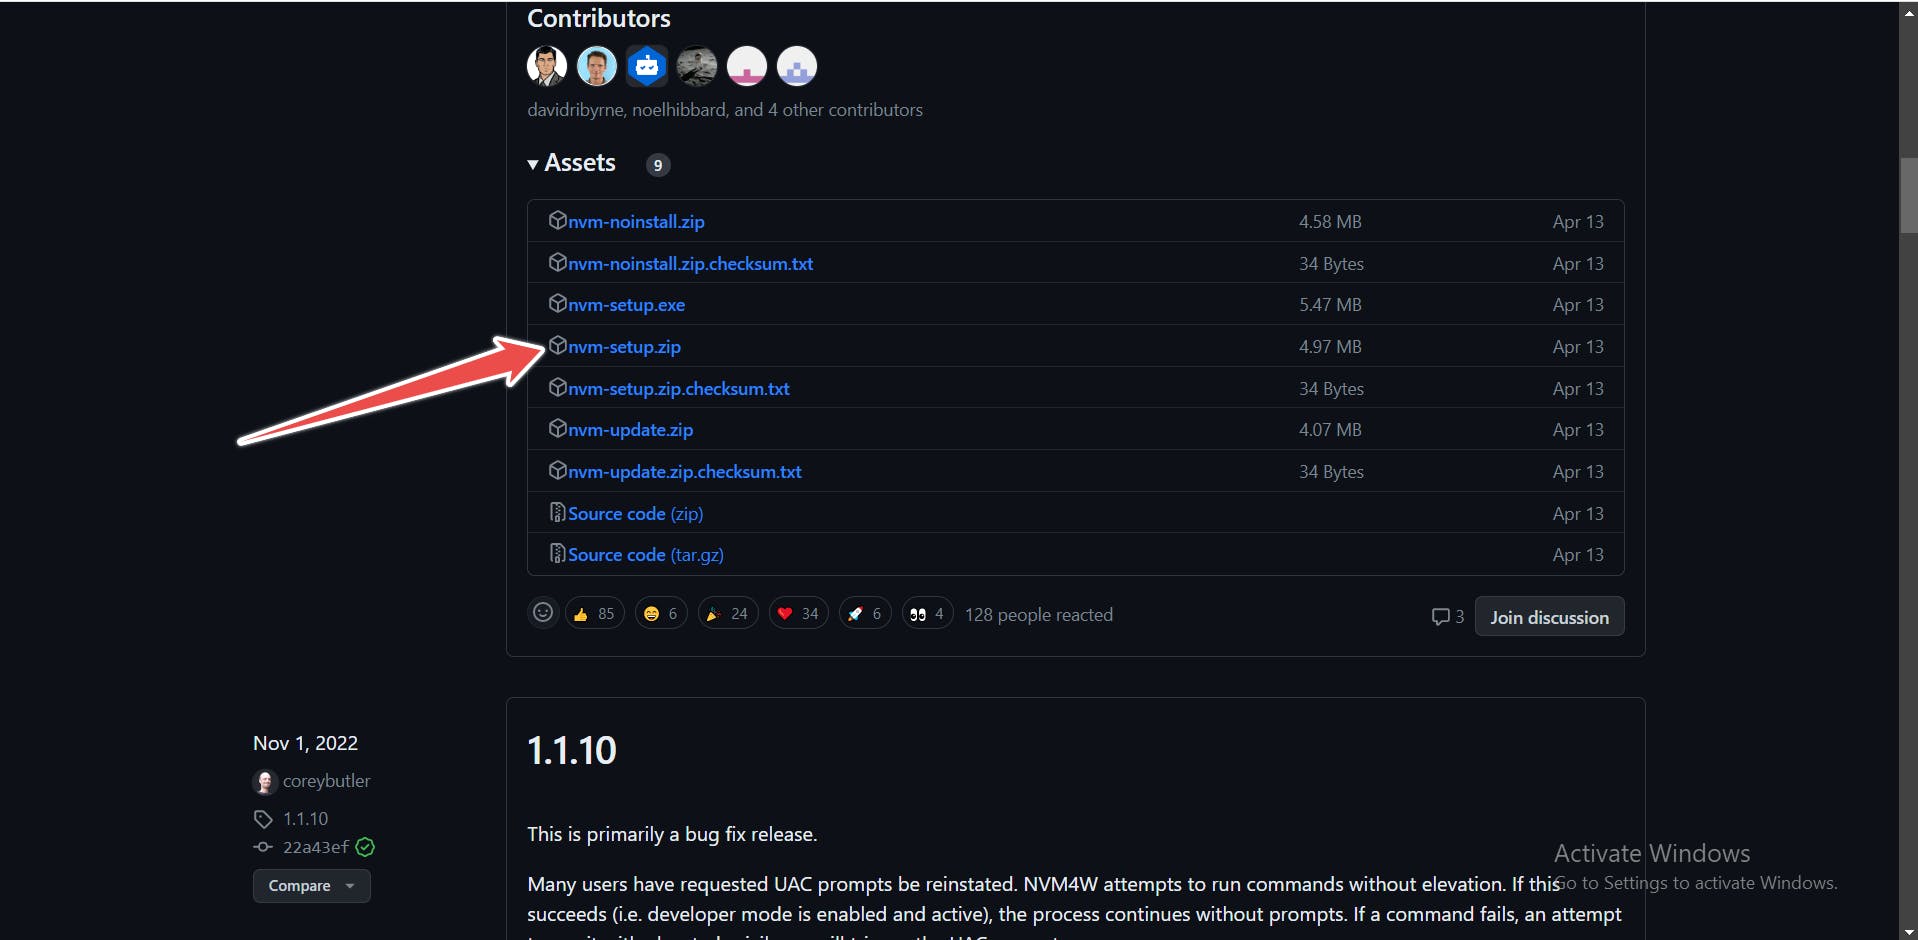
To install NVM, go to this site and click on nvm-setup.zip.
After downloading, unzip and run the exe file.

Open your command prompt after the installation is complete to verify the installation. Run the command
nvm --versionto ensure that NVM was successfully installed. If NVM is properly installed, the installed version will be displayed.
Once NVM is installed, you can install several Node.js versions. To install a specific version of Node.js, use the command
nvm install <version>. For example,nvm install 10.16.0installs Node.js version 10.16.0 and NPM version 6.9.0.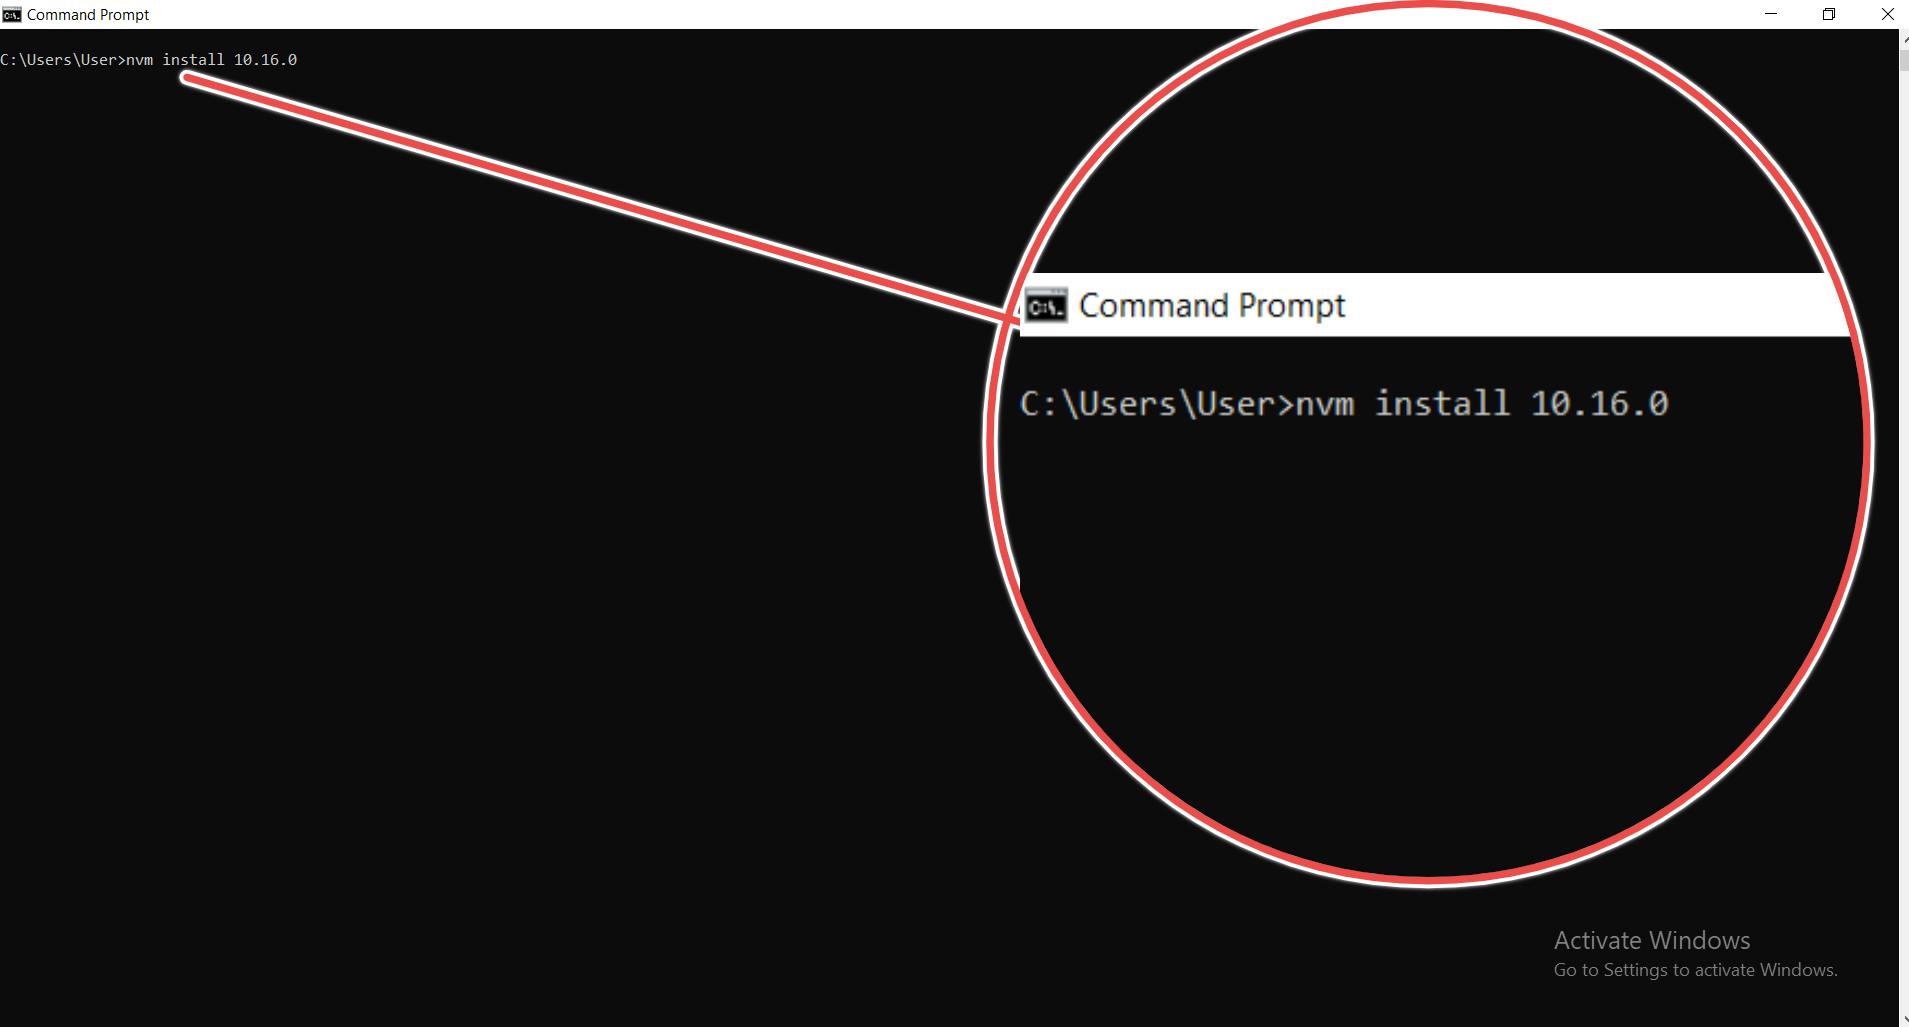
Use the command nvm use <version> to switch between installed Node.js versions. For example,
nvm use 10.16.0, switches to Node.js version 10.16.0 for the current terminal session.
To list the different node versions that have been installed, use the command
nvm ls.
It is worth noting that, similarly to how installing Nodejs normally installs npm, installing Nodejs using nvm also installs the npm version corresponding with that node version.
Installation on MAC
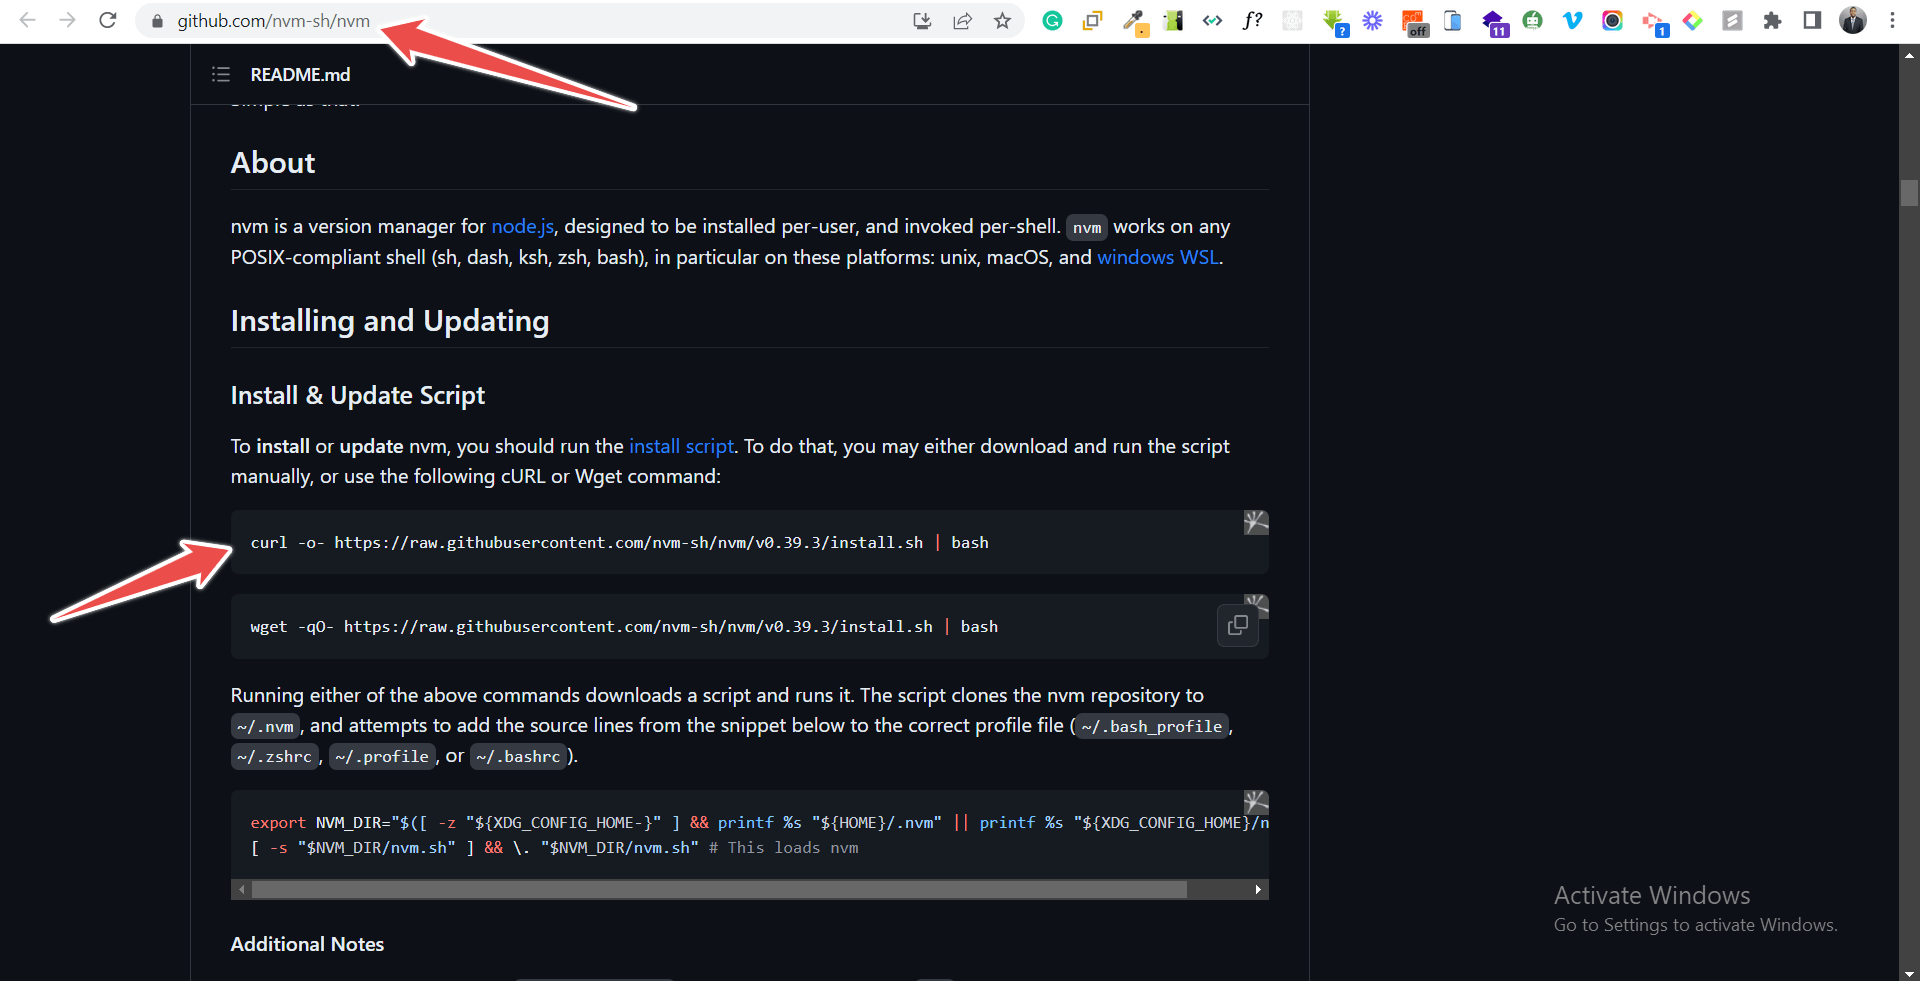
Download and Install NVM: Visit the official NVM repository on GitHub (github.com/nvm-sh/nvm) to download the installation script. Copy the command for the installation script provided in the repository's README.
Run Installation Script: Open your terminal and paste the installation script command. Execute the command to initiate the installation process. This script will download and configure NVM on your system.
curl -o- https://raw.githubusercontent.com/nvm-sh/nvm/v0.39.3/install.sh | bashVerify Installation: Once the installation is complete, open your terminal. To verify that NVM is successfully installed, run the command
nvm --version. If NVM is properly installed, it will display the installed version.
Uninstalling a Node version using NVM
While it is true that having numerous Node.js versions is not harmful (in fact, it is the point of this post 😂), there may be times when you need to uninstall a certain Node.js version using NVM (Node Version Manager). You can accomplish this by following the steps mentioned below:
List Installed Node Versions: Open your terminal or command prompt and run the command
nvm ls. This will display a list of Node.js versions installed on your system.nvm lsUninstall Node Version: To uninstall the selected Node.js version, use the command
nvm uninstall <version>. Replace<version>with the specific version number or alias of the Node.js version, you want to remove. For example,nvm uninstall 10.16.0.nvm uninstall 10.16.0Verify Uninstallation: After the uninstallation process completes, you can double-check if the Node.js version was successfully removed by running
nvm lsornvm listagain. The uninstalled version should no longer appear in the list.
If you want to uninstall any other node version, you can repeat the process listed above.
Recommendations For Effectively Using NVM
Please note that when working with NVM on Windows OS, it is critical to use the command prompt (CMD) rather than Git Bash or other terminal emulators. This distinction is critical because NVM interacts differently with different terminal environments, and using the incorrect one can result in unexpected failures or hours spent troubleshooting. Save yourself the trouble and run NVM commands from the command prompt for a smooth and trouble-free experience.
NVM Alternative
NVM (Node Version Manager) is a popular Node.js version management system. However, if you're looking for alternatives or exploring new possibilities, I'd recommend checking out Volta.
Volta is a tool that, while similar to NVM, takes a distinct approach. Its goal is to make Node.js version management easier by automatically recognizing the Node.js version needed for each project based on a configuration file. Volta also supports Node.js version control for packages, allowing you to specify the version necessary for each package.
Conclusion
In a nutshell, NVM is fantastic! It's like having a wardrobe full of Node.js versions to dress up your projects in style. There will be no more difficulties when your app requires a different Node.js variant than what is installed, just as I can now work comfortably on legacy Angular projects as well as recent ones without hassle. NVM is an important friend when it comes to accommodating legacy applications, verifying compatibility with other frameworks, or discovering the latest Node.js capabilities. Embrace the Node.js Flexibility with NVM!